Applying Polygel in 7 Steps
Polygel nails offer a great combination of the benefits of acrylic and gel, resulting in strong and flexible nails that look beautiful. Applying polygel is easy if you know which steps to follow. In this blog post, we explain how to apply polygel correctly, with handy tips to make the process as smooth as possible.
What are Polygel Nails?
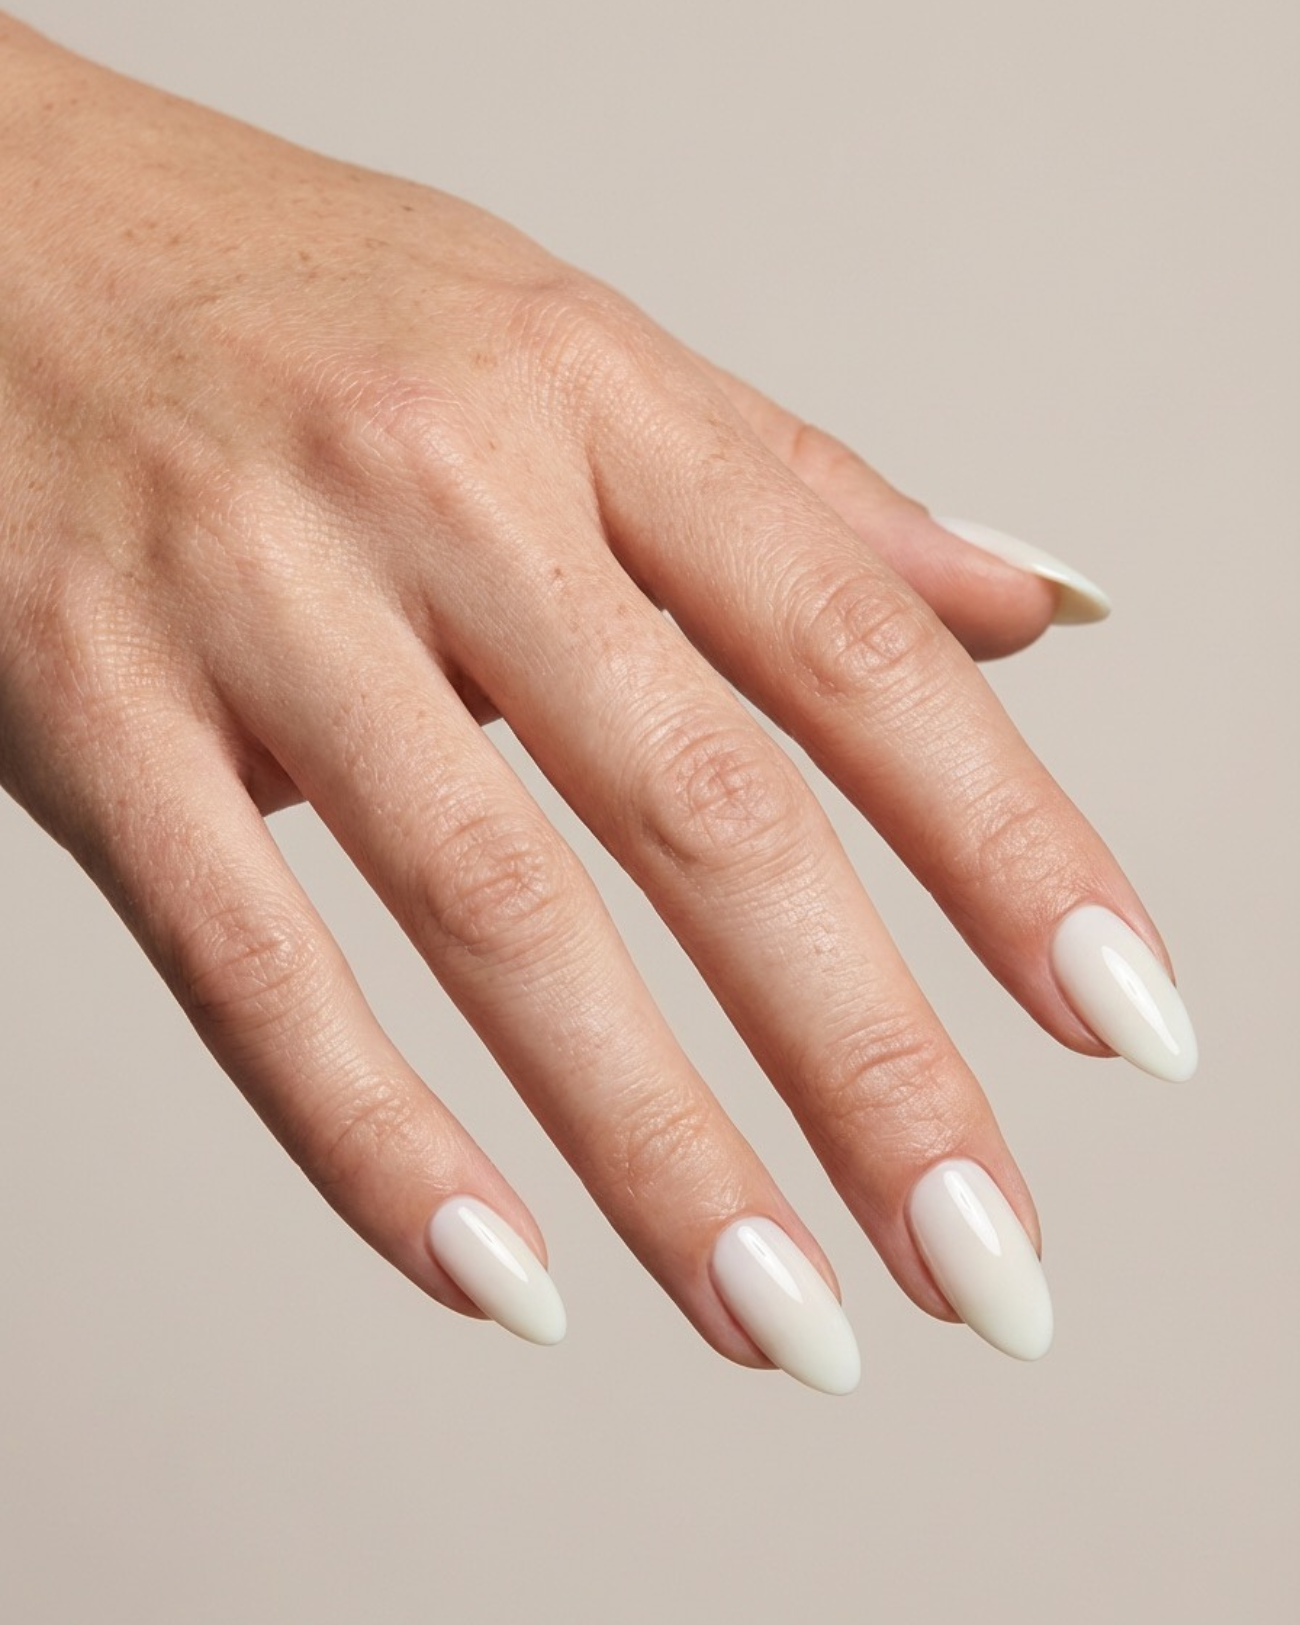
Polygel is a hybrid product that combines gel and acrylic. It is a solid, flexible substance that is easier to apply than acrylic and cures faster than gel. This makes polygel ideal for creating strong and long nails without feeling heavy or uncomfortable. Polygel is available in various shades and is an excellent choice for both beginners and advanced nail stylists.
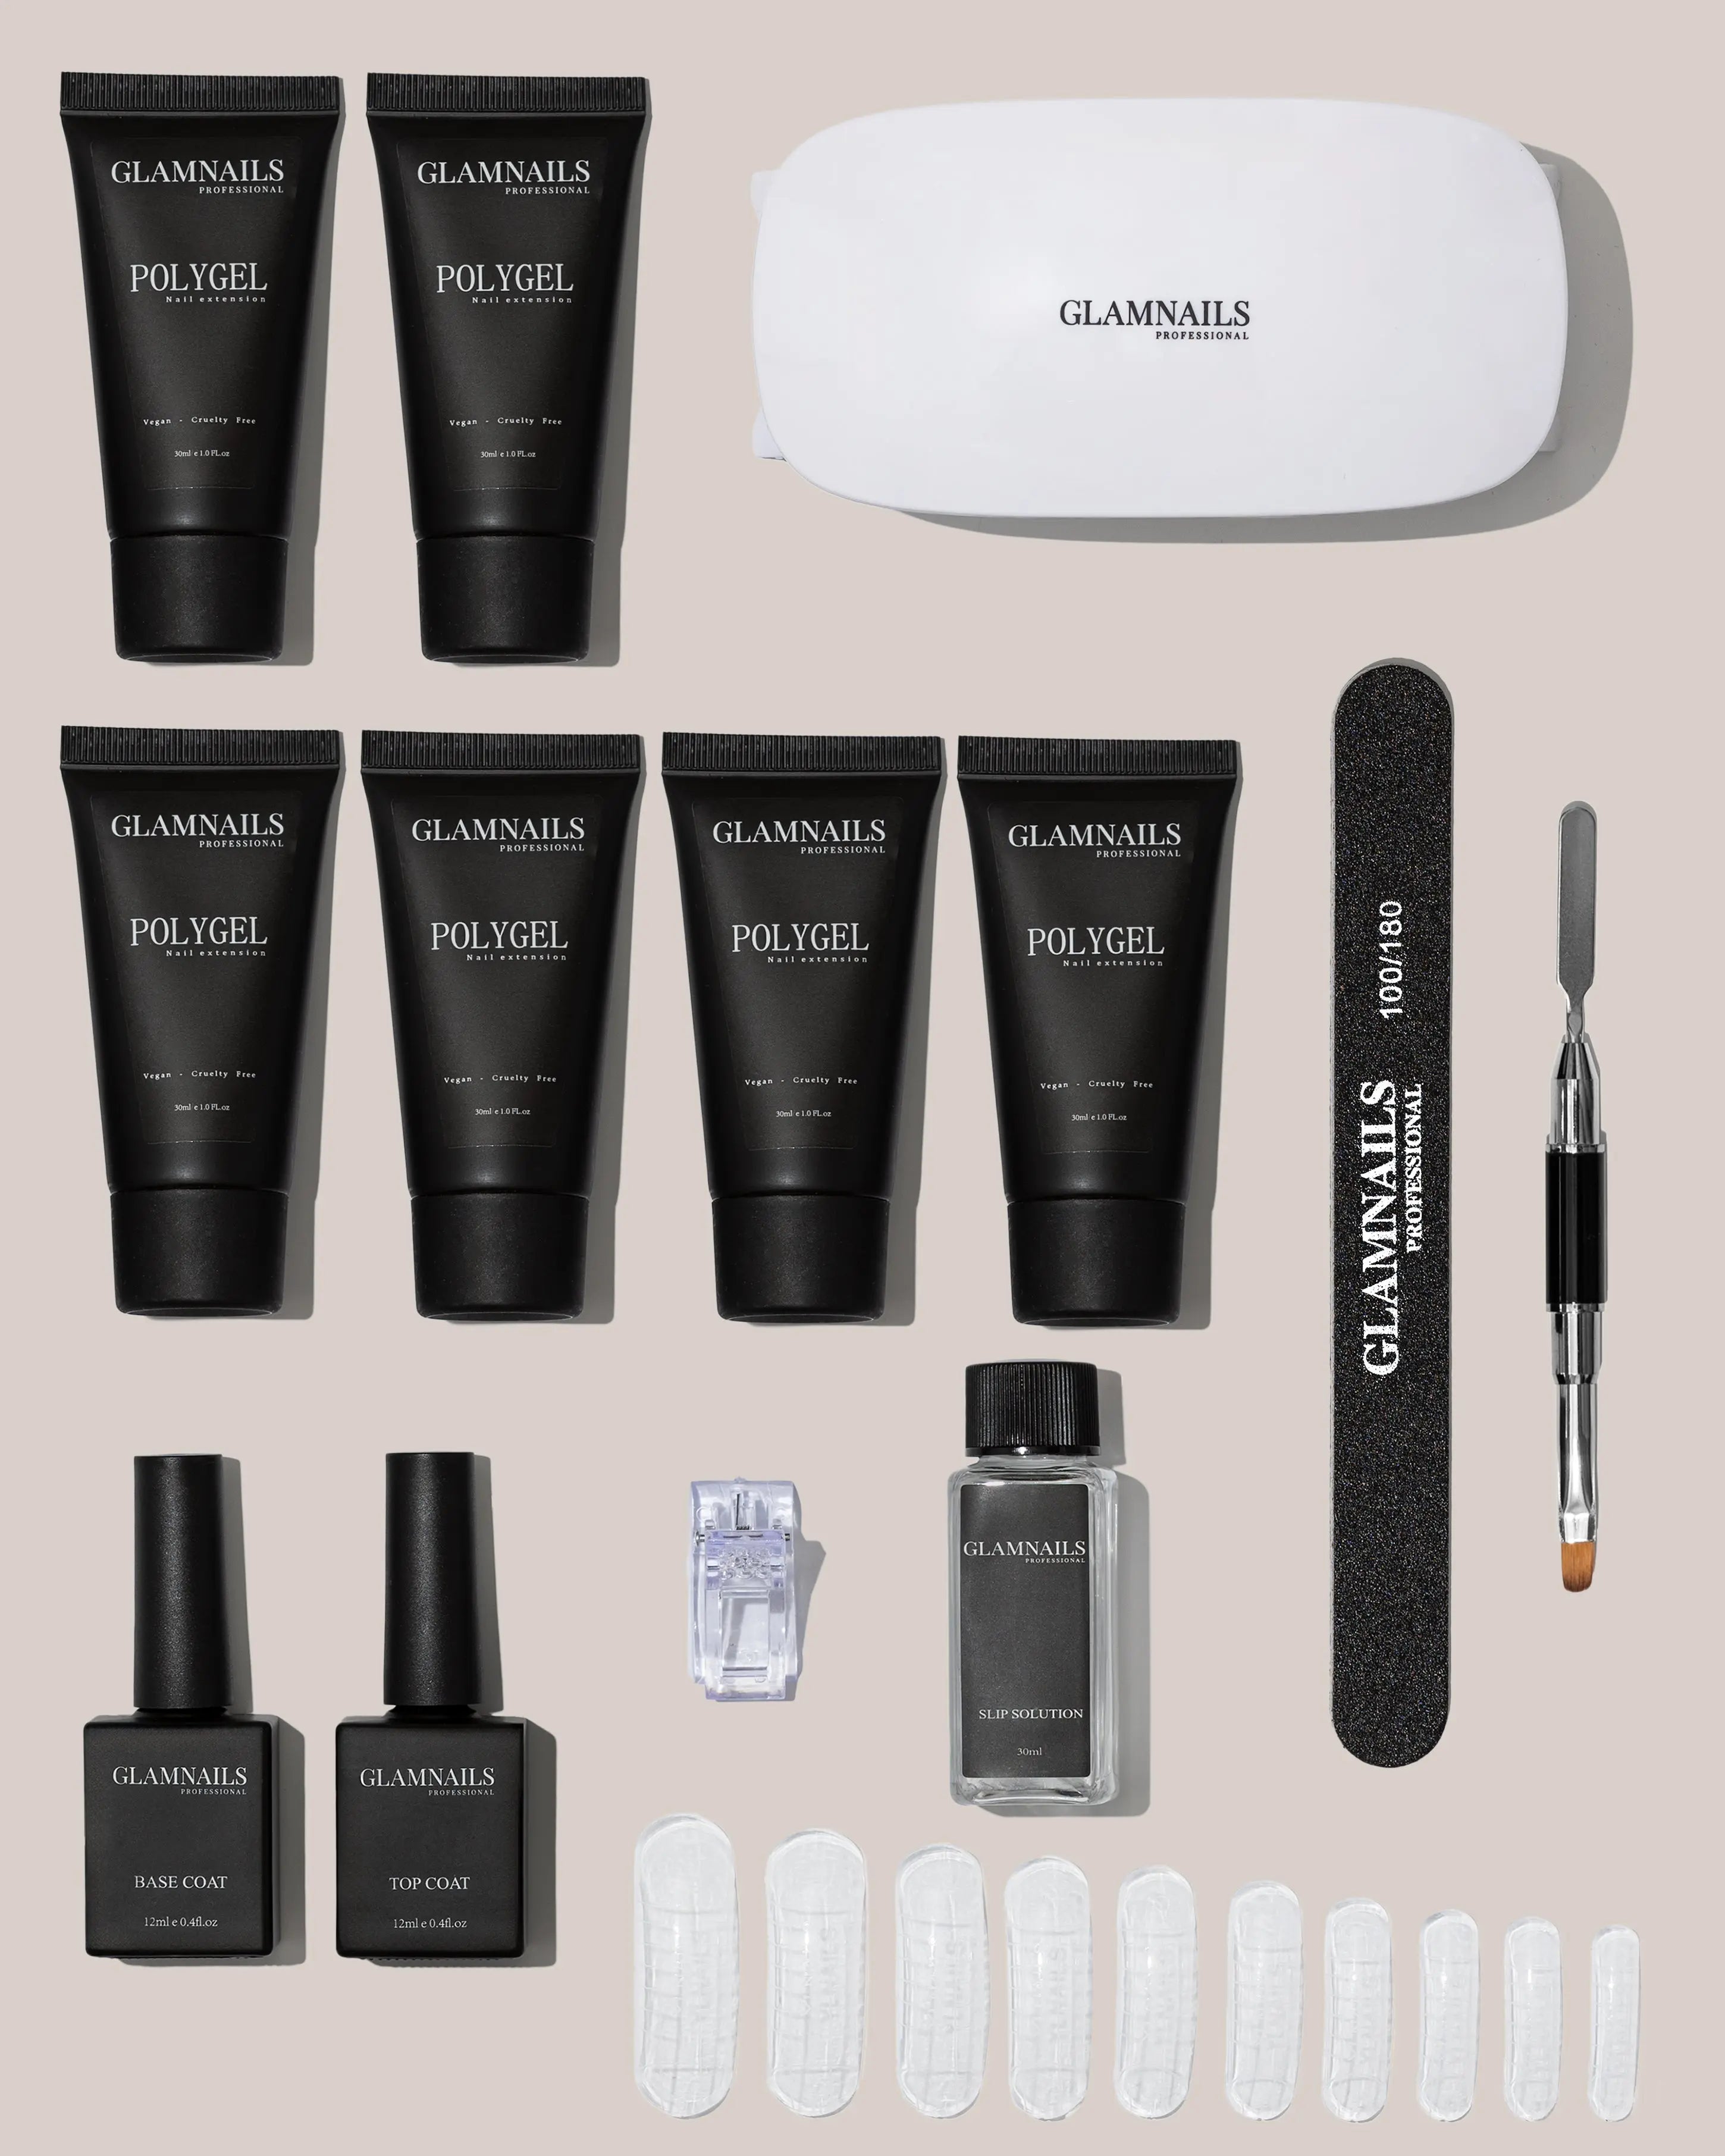
Supplies for Polygel Nails
Before you start, you need a few tools and products to successfully apply your polygel nails:
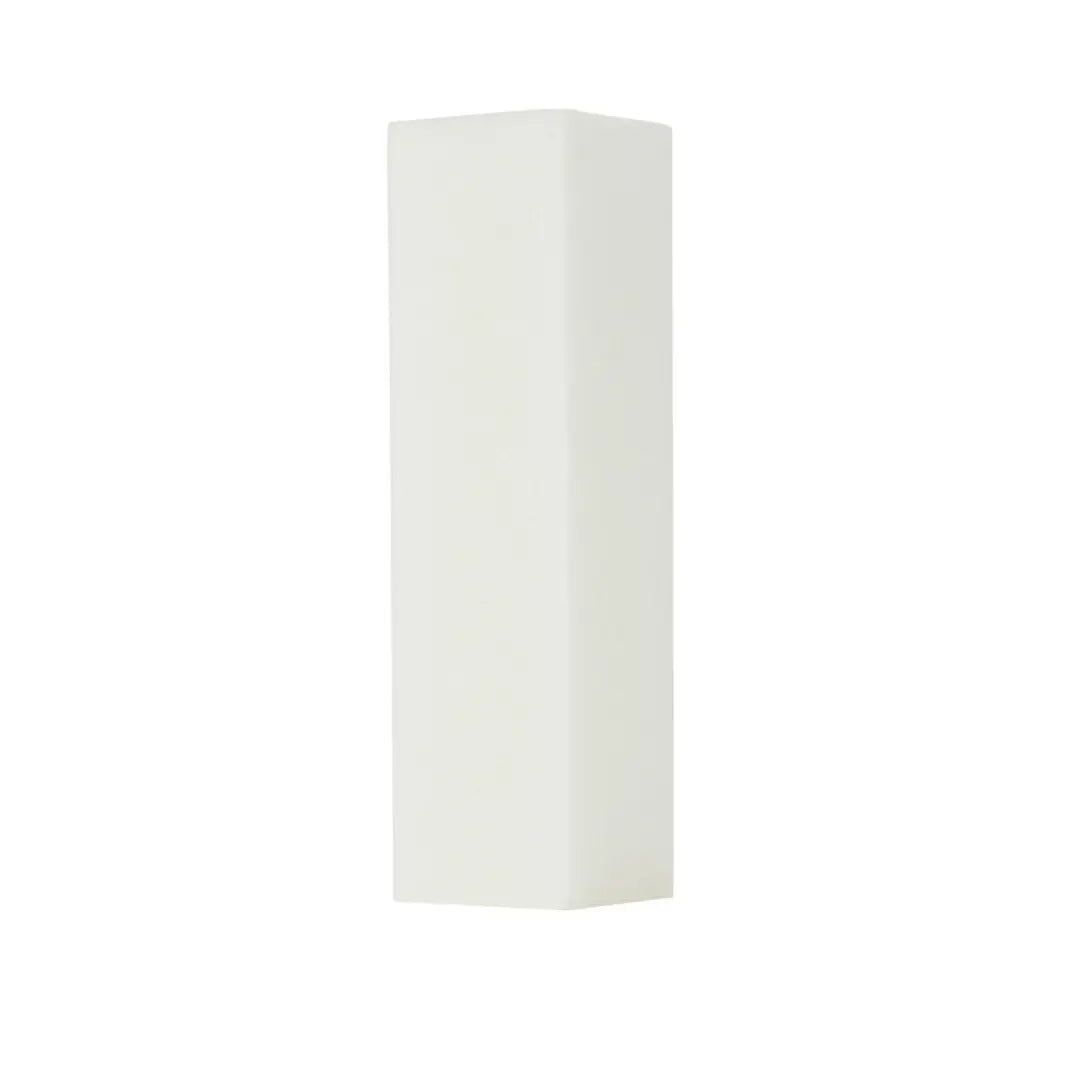
- Polygel (in the desired color)
- Nail file and buffer
- Cuticle oil
- Nail primer or dehydrator
- UV or LED nail lamp
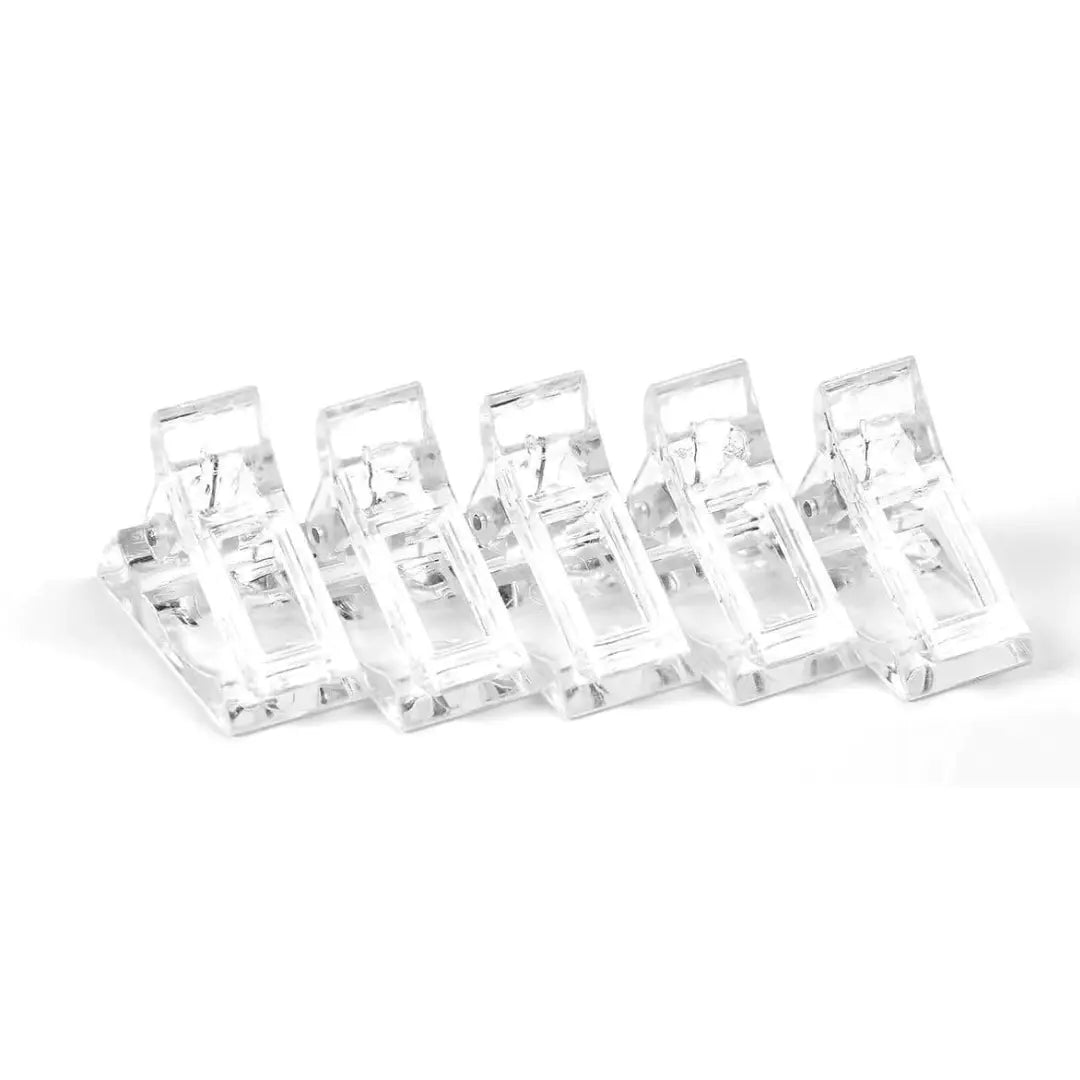
- Dual forms or templates (depending on your technique)
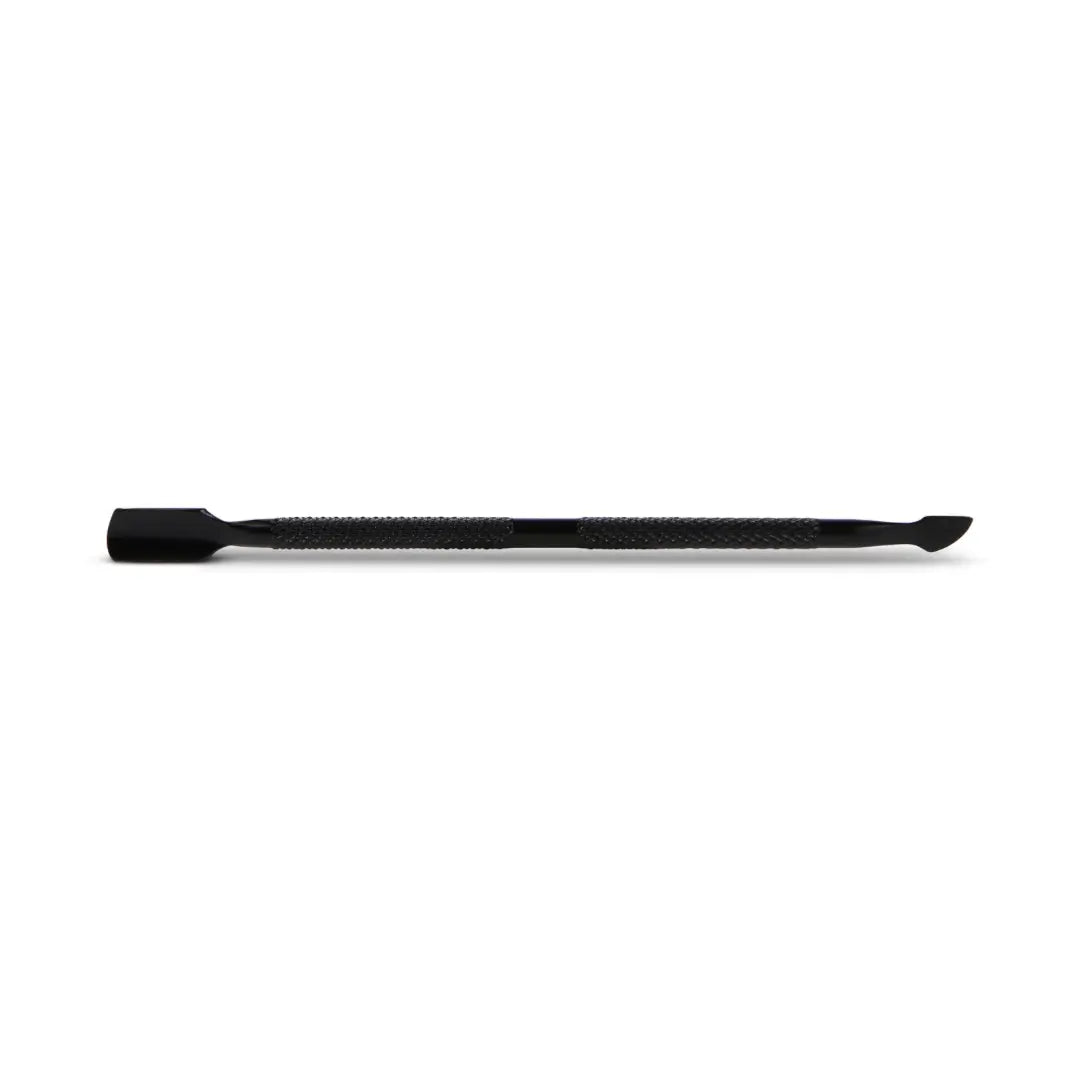
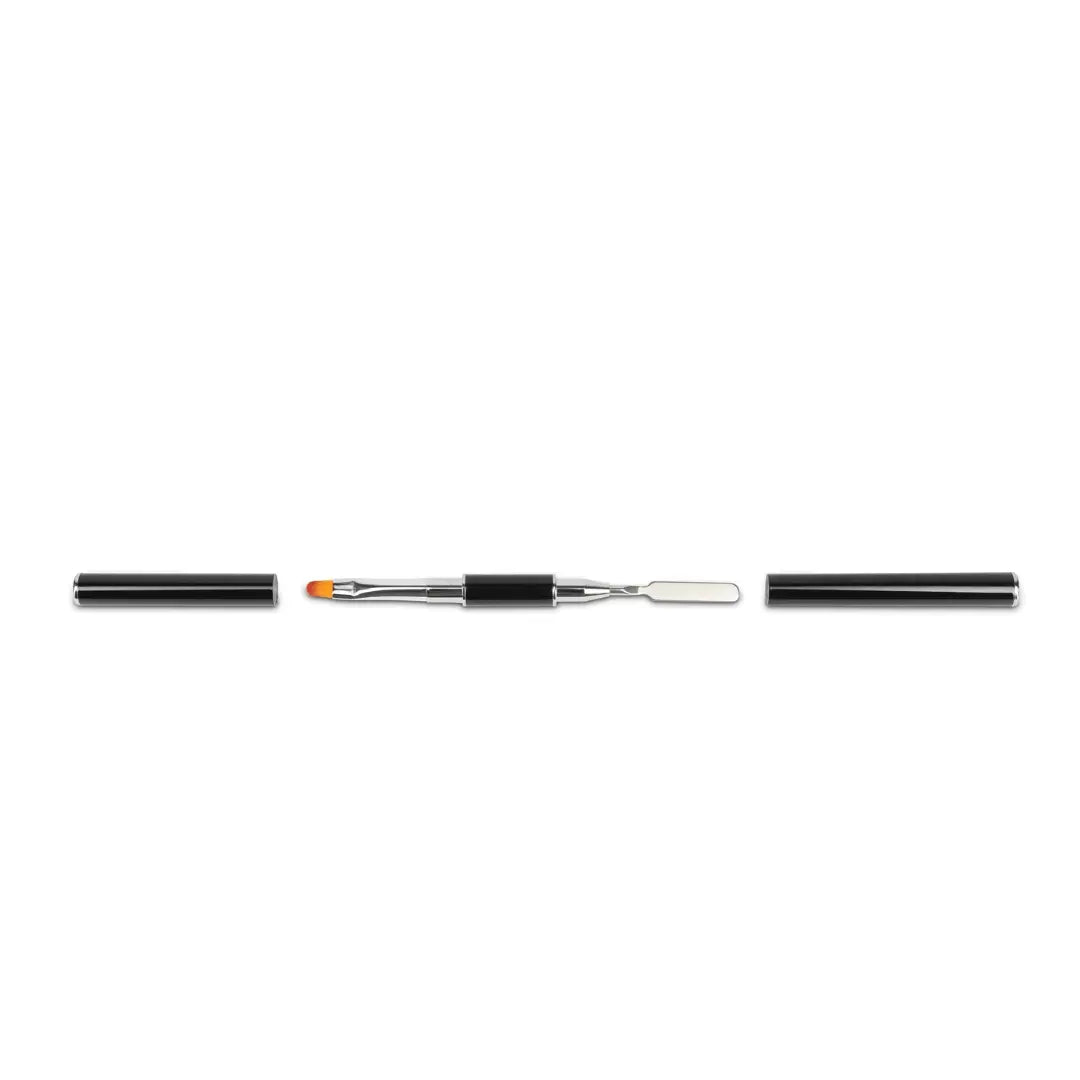
- Polygel tools such as a brush and spatula
- Topcoat and Gel polish (optional)
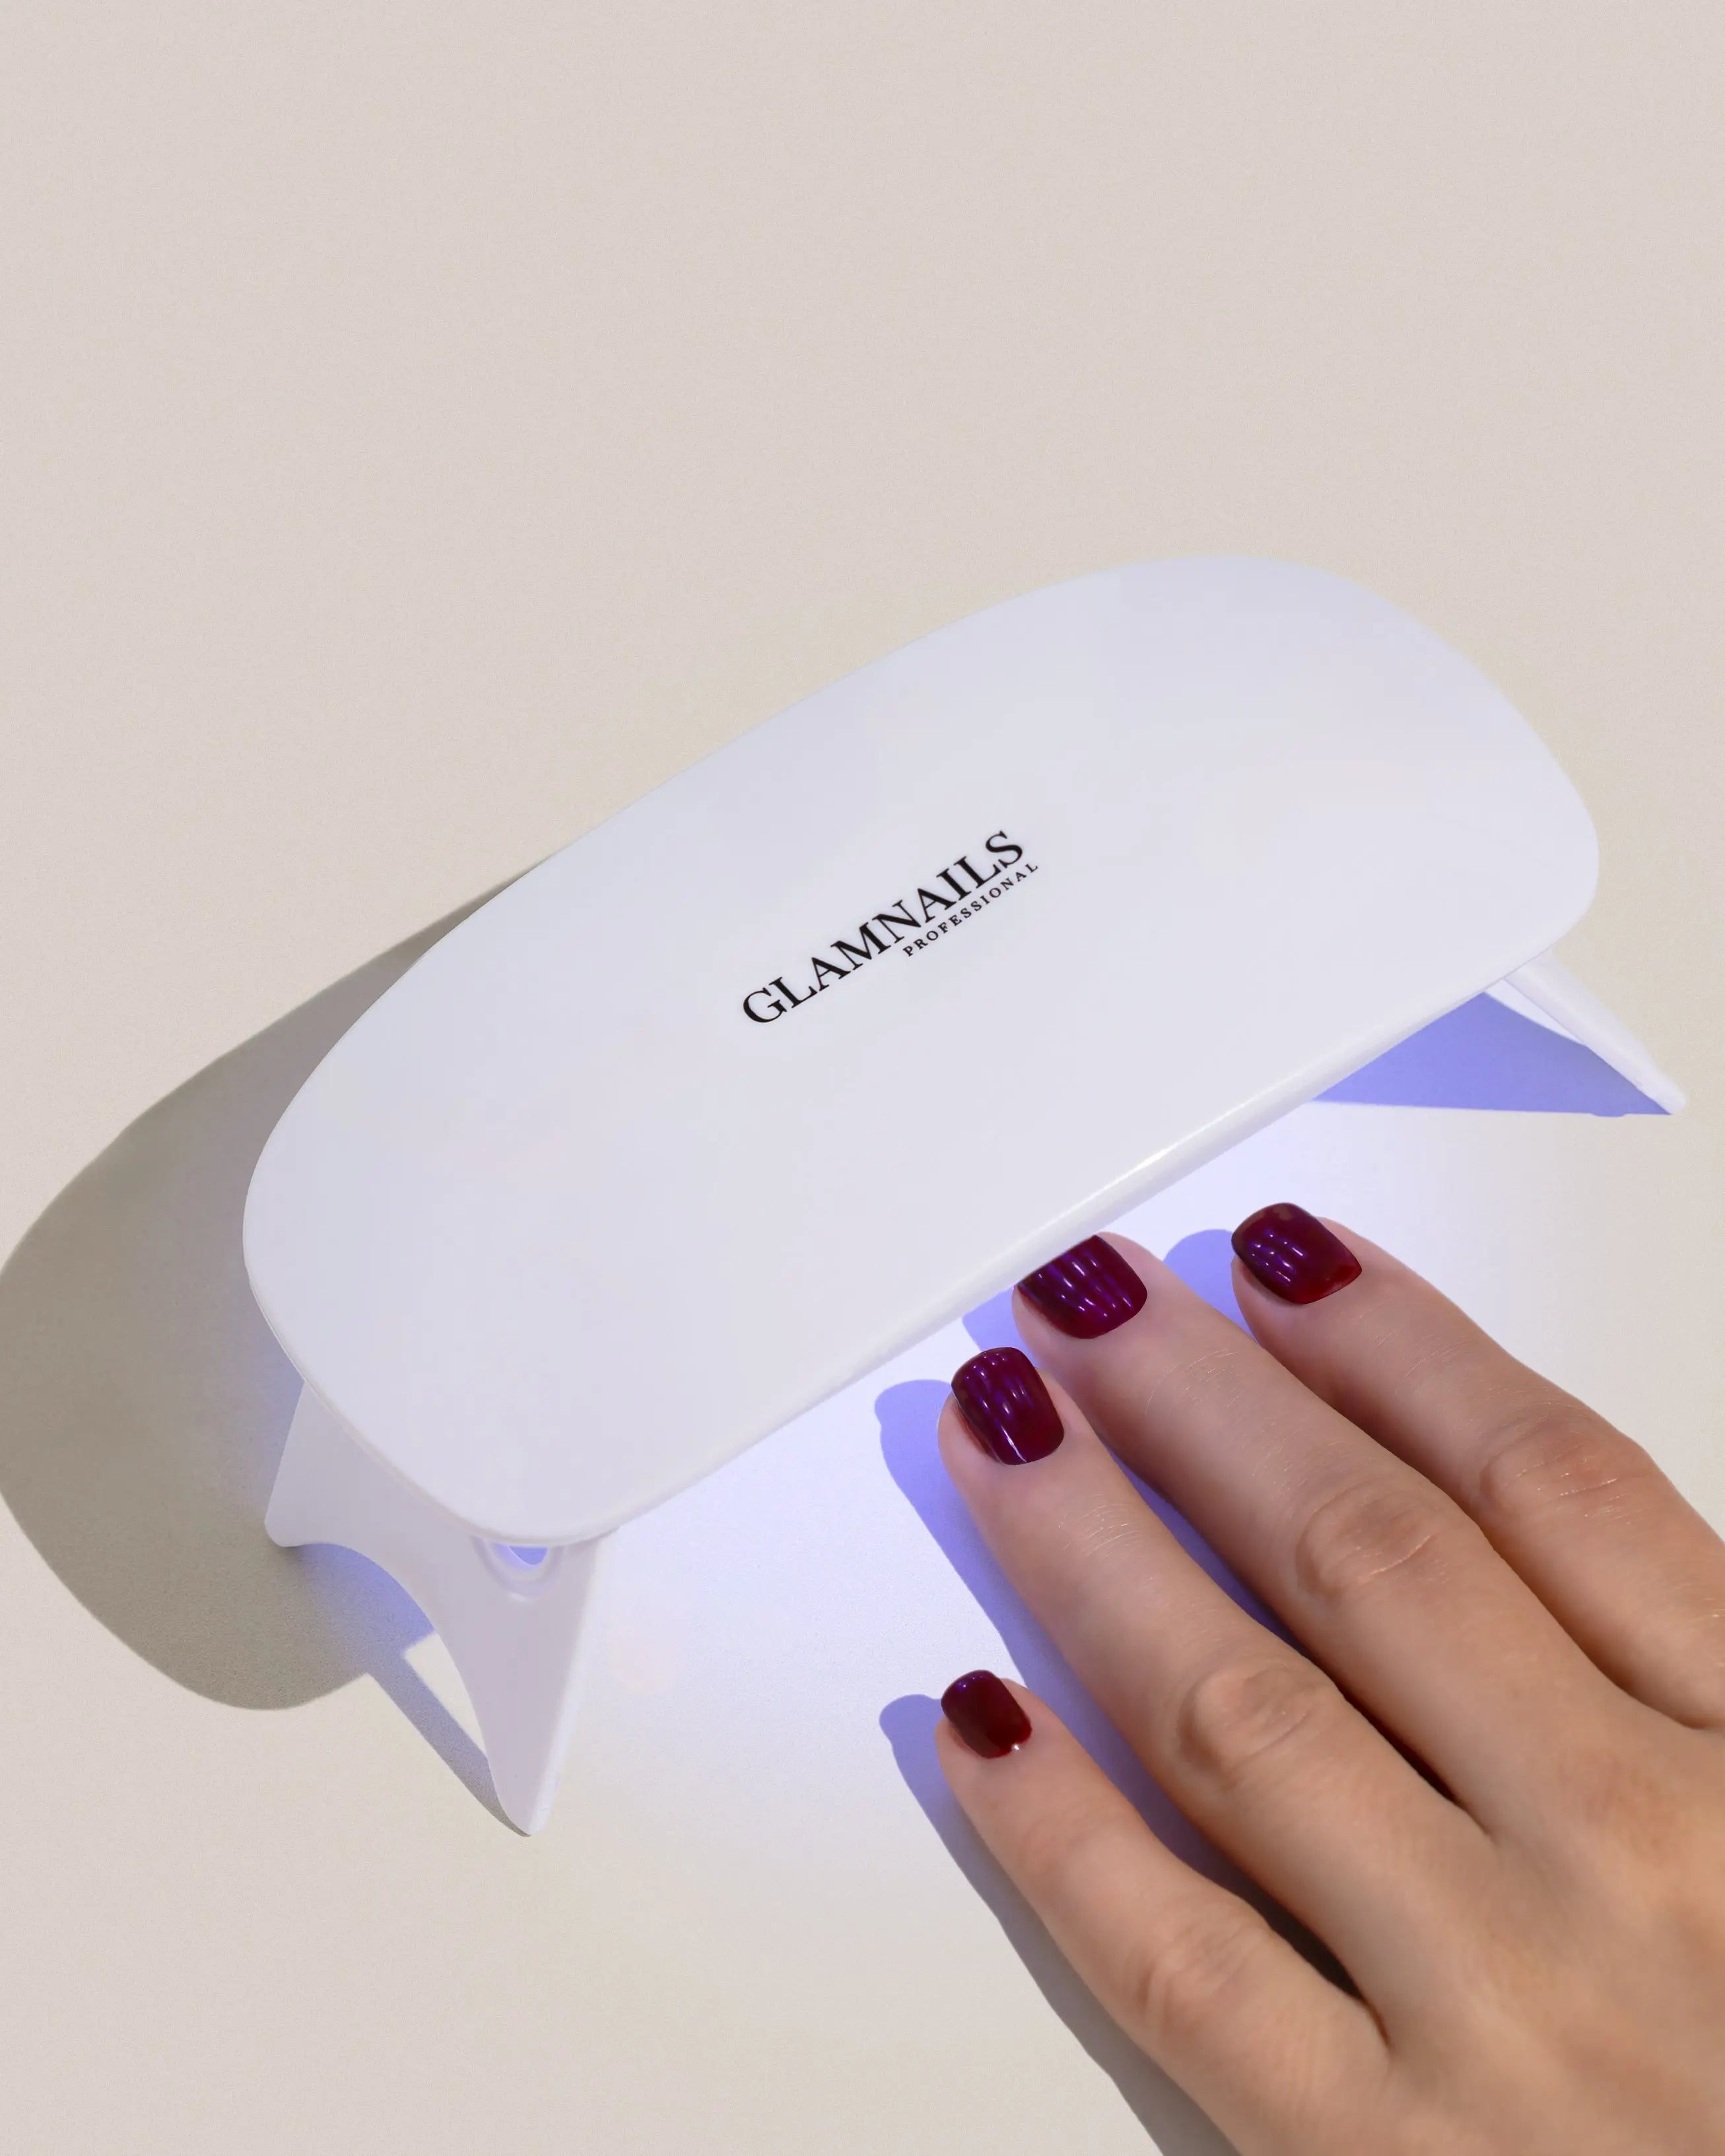
Which Lamp for Polygel?
For curing polygel, you need a UV or LED nail lamp. An LED lamp is faster than a UV lamp, so if you want to save time, an LED lamp is the best choice. Make sure your lamp is strong enough to fully cure the polygel for the best result.
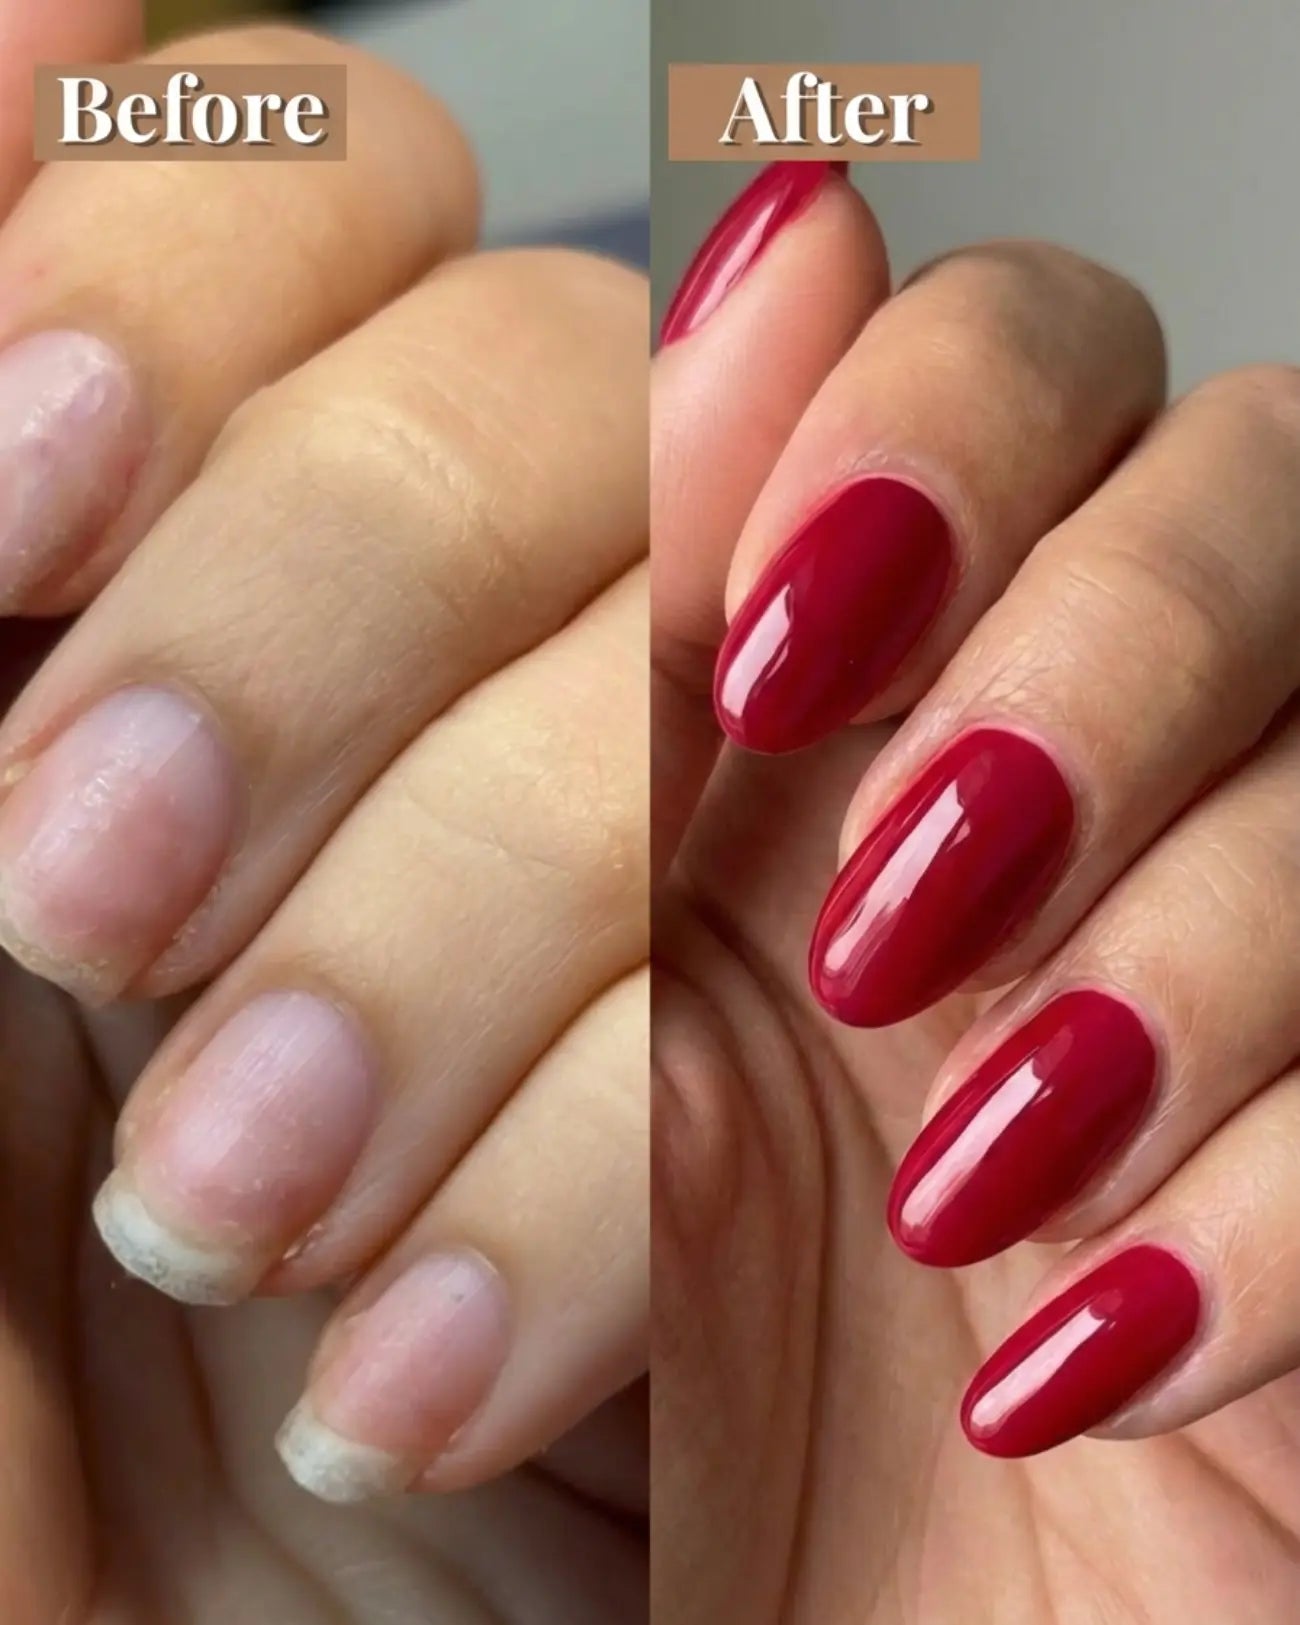
Preparing Your Nails for Polygel
Before you start applying polygel, it's important to prepare your nails properly. Start by cleaning your hands and nails and removing old nail polish or gel. Then:
- File your nails to the desired length and shape.
- Gently push back the cuticles with a cuticle pusher or a wooden stick.
- Lightly buff the nail with a buffer so that the surface is slightly rough. This ensures that the polygel adheres better.
Applying Polygel Nails on the Natural Nail
Now that your nails are prepared, you can start applying the polygel. Follow these 7 steps:
1. Applying Polygel
Apply a thin layer of polygel on your nail or use a dual form to create a nice shape. Make sure to apply the polygel evenly. You can use a brush to spread the product or use the 'sandwich' technique if you are working with dual forms.
2. Curing Polygel
Place your hands under the UV or LED lamp and let the polygel cure. This usually takes 30-60 seconds in an LED lamp and 2-3 minutes in a UV lamp.
3. Finishing Polygel Nails
After curing, you can lightly file the nails to perfect the shape. Use a file to smooth the edges and shape the nails as desired.
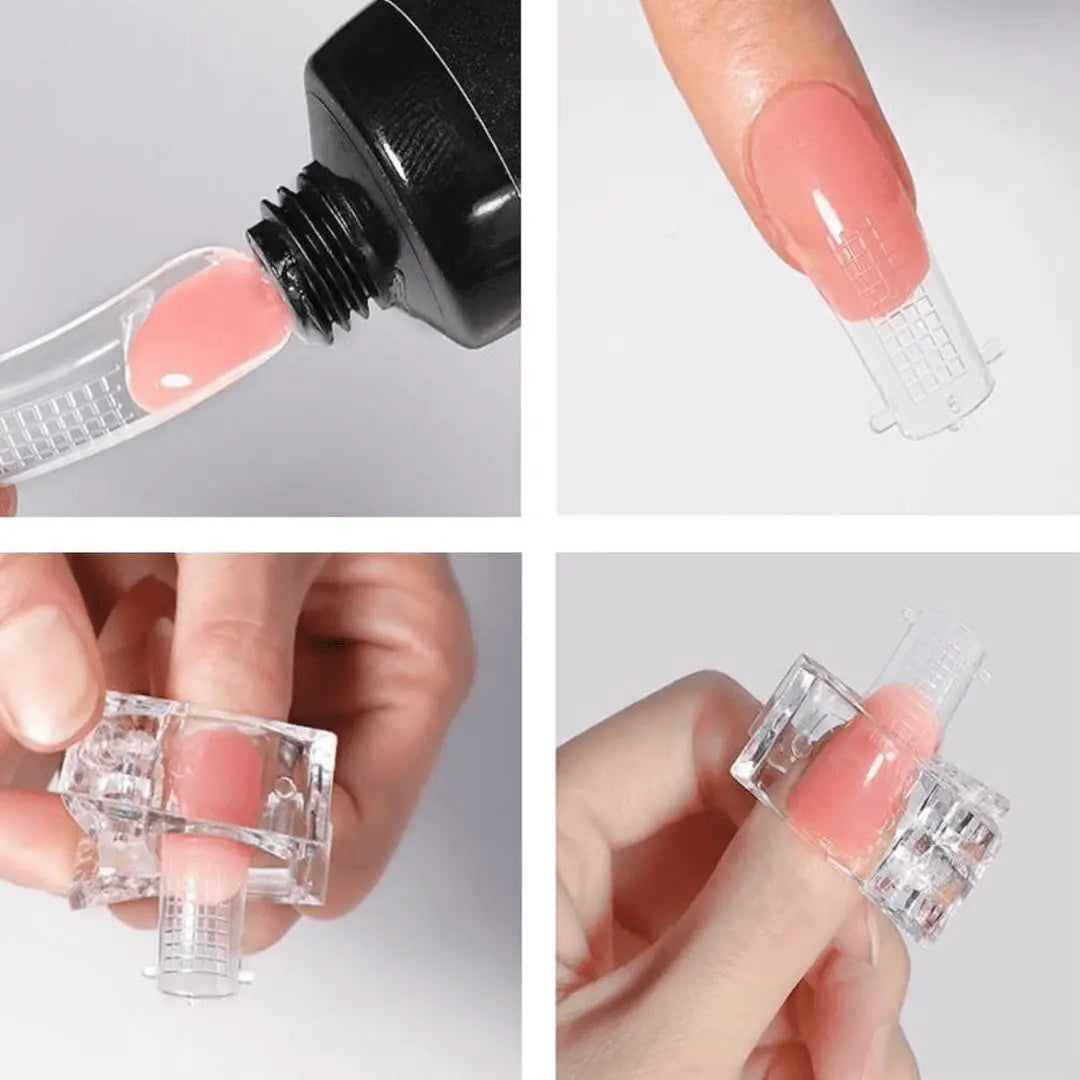
Applying Polygel with Dual Forms
Another popular technique is using dual forms . These are special molds that help you create the perfect nail shape.
1. Choose a dual form
Choose a dual form that fits the length and width of your natural nails.
2. Sandwich the polygel
Apply a small amount of polygel to the inside of the dual form. Use a brush to evenly distribute the gel.
3. Apply and perfect the polygel
Carefully place the dual form on your natural nail and press it down well. Ensure the polygel is evenly distributed and that there are no air bubbles.
4. Cure the polygel under a nail lamp
Place your hands under the UV or LED lamp to fully cure the polygel.
5. Remove the dual form
Once the polygel is fully cured, you can carefully remove the dual form.
6. File the polygel nails
Use a nail file to shape the polygel into the desired form and correct any irregularities.
7. Apply gel polish and/or topcoat
To finish the nails, apply a layer of topcoat for extra shine and protection. You can also apply gel polish for an additional color.
Applying polygel nails with templates
Instead of dual forms, you can also use templates to extend and shape your nails. This is a slightly more complicated process, but with the right technique, you can achieve beautiful results.
1. Apply templates
Apply a template to the free edge of your nail. Ensure it is securely attached.
2. Apply and shape the polygel
Apply polygel to the template and use a brush to shape the gel as desired.
3. Cure the polygel
Place your hands under the UV or LED lamp to fully cure the polygel.
4. File the polygel nails
Remove the template and file the nail into the desired shape.
5. Apply gel polish and/or topcoat
Apply a layer of topcoat for a beautiful finish.
FAQ
1. How should I remove polygel?
Polygel can be removed by gently filing it off or by soaking it in acetone. Make sure not to damage the nails during removal.
2. How do you use polygel for the first time?
For beginners, it's helpful to start with a polygel starter kit that includes all necessary tools. Follow the steps carefully, and practice regularly to become familiar with the technique.
3. Can I apply polygel on my natural nails?
Yes, polygel can be applied directly to your natural nails. Ensure your nails are well-prepared before you start.
4. What is the difference between polygel and gel polish?
Polygel is thicker and stronger than gel polish. It is used for extending or strengthening nails, while gel polish is usually used for a temporary color layer.
5. How long do polygel nails stay beautiful?
Polygel nails typically stay beautiful for 2 to 3 weeks, depending on how well you care for the nails and how fast your nails grow.